> For the complete documentation index, see [llms.txt](https://verify-doc.tiller-verify.com/llms.txt). Markdown versions of documentation pages are available by appending `.md` to page URLs; this page is available as [Markdown](https://verify-doc.tiller-verify.com/training-hub/user-guides/my-profile.md).
# My Profile
At the bottom of the left-hand side menu on the Verify Portal, you will see your initials displayed above the Logout button. Clicking on your initials will take you directly to the My Profile area.
The **My Profile** area is designed to give users control over their personal information, password management, and Two-Factor Authentication (2FA) settings. This area is divided into three sections:
1. **My Info**
2. **Change password**
3. #### 2 Factor Authentication
My Profile
### **My Info:**
In this section, you can view the personal information associated with your account:
* **Name**: Your full name.
* **Job Title**: Your role or designation in the company.
* **Email Address**: The email address linked to your account.
This information reflects the details provided during account creation.
***
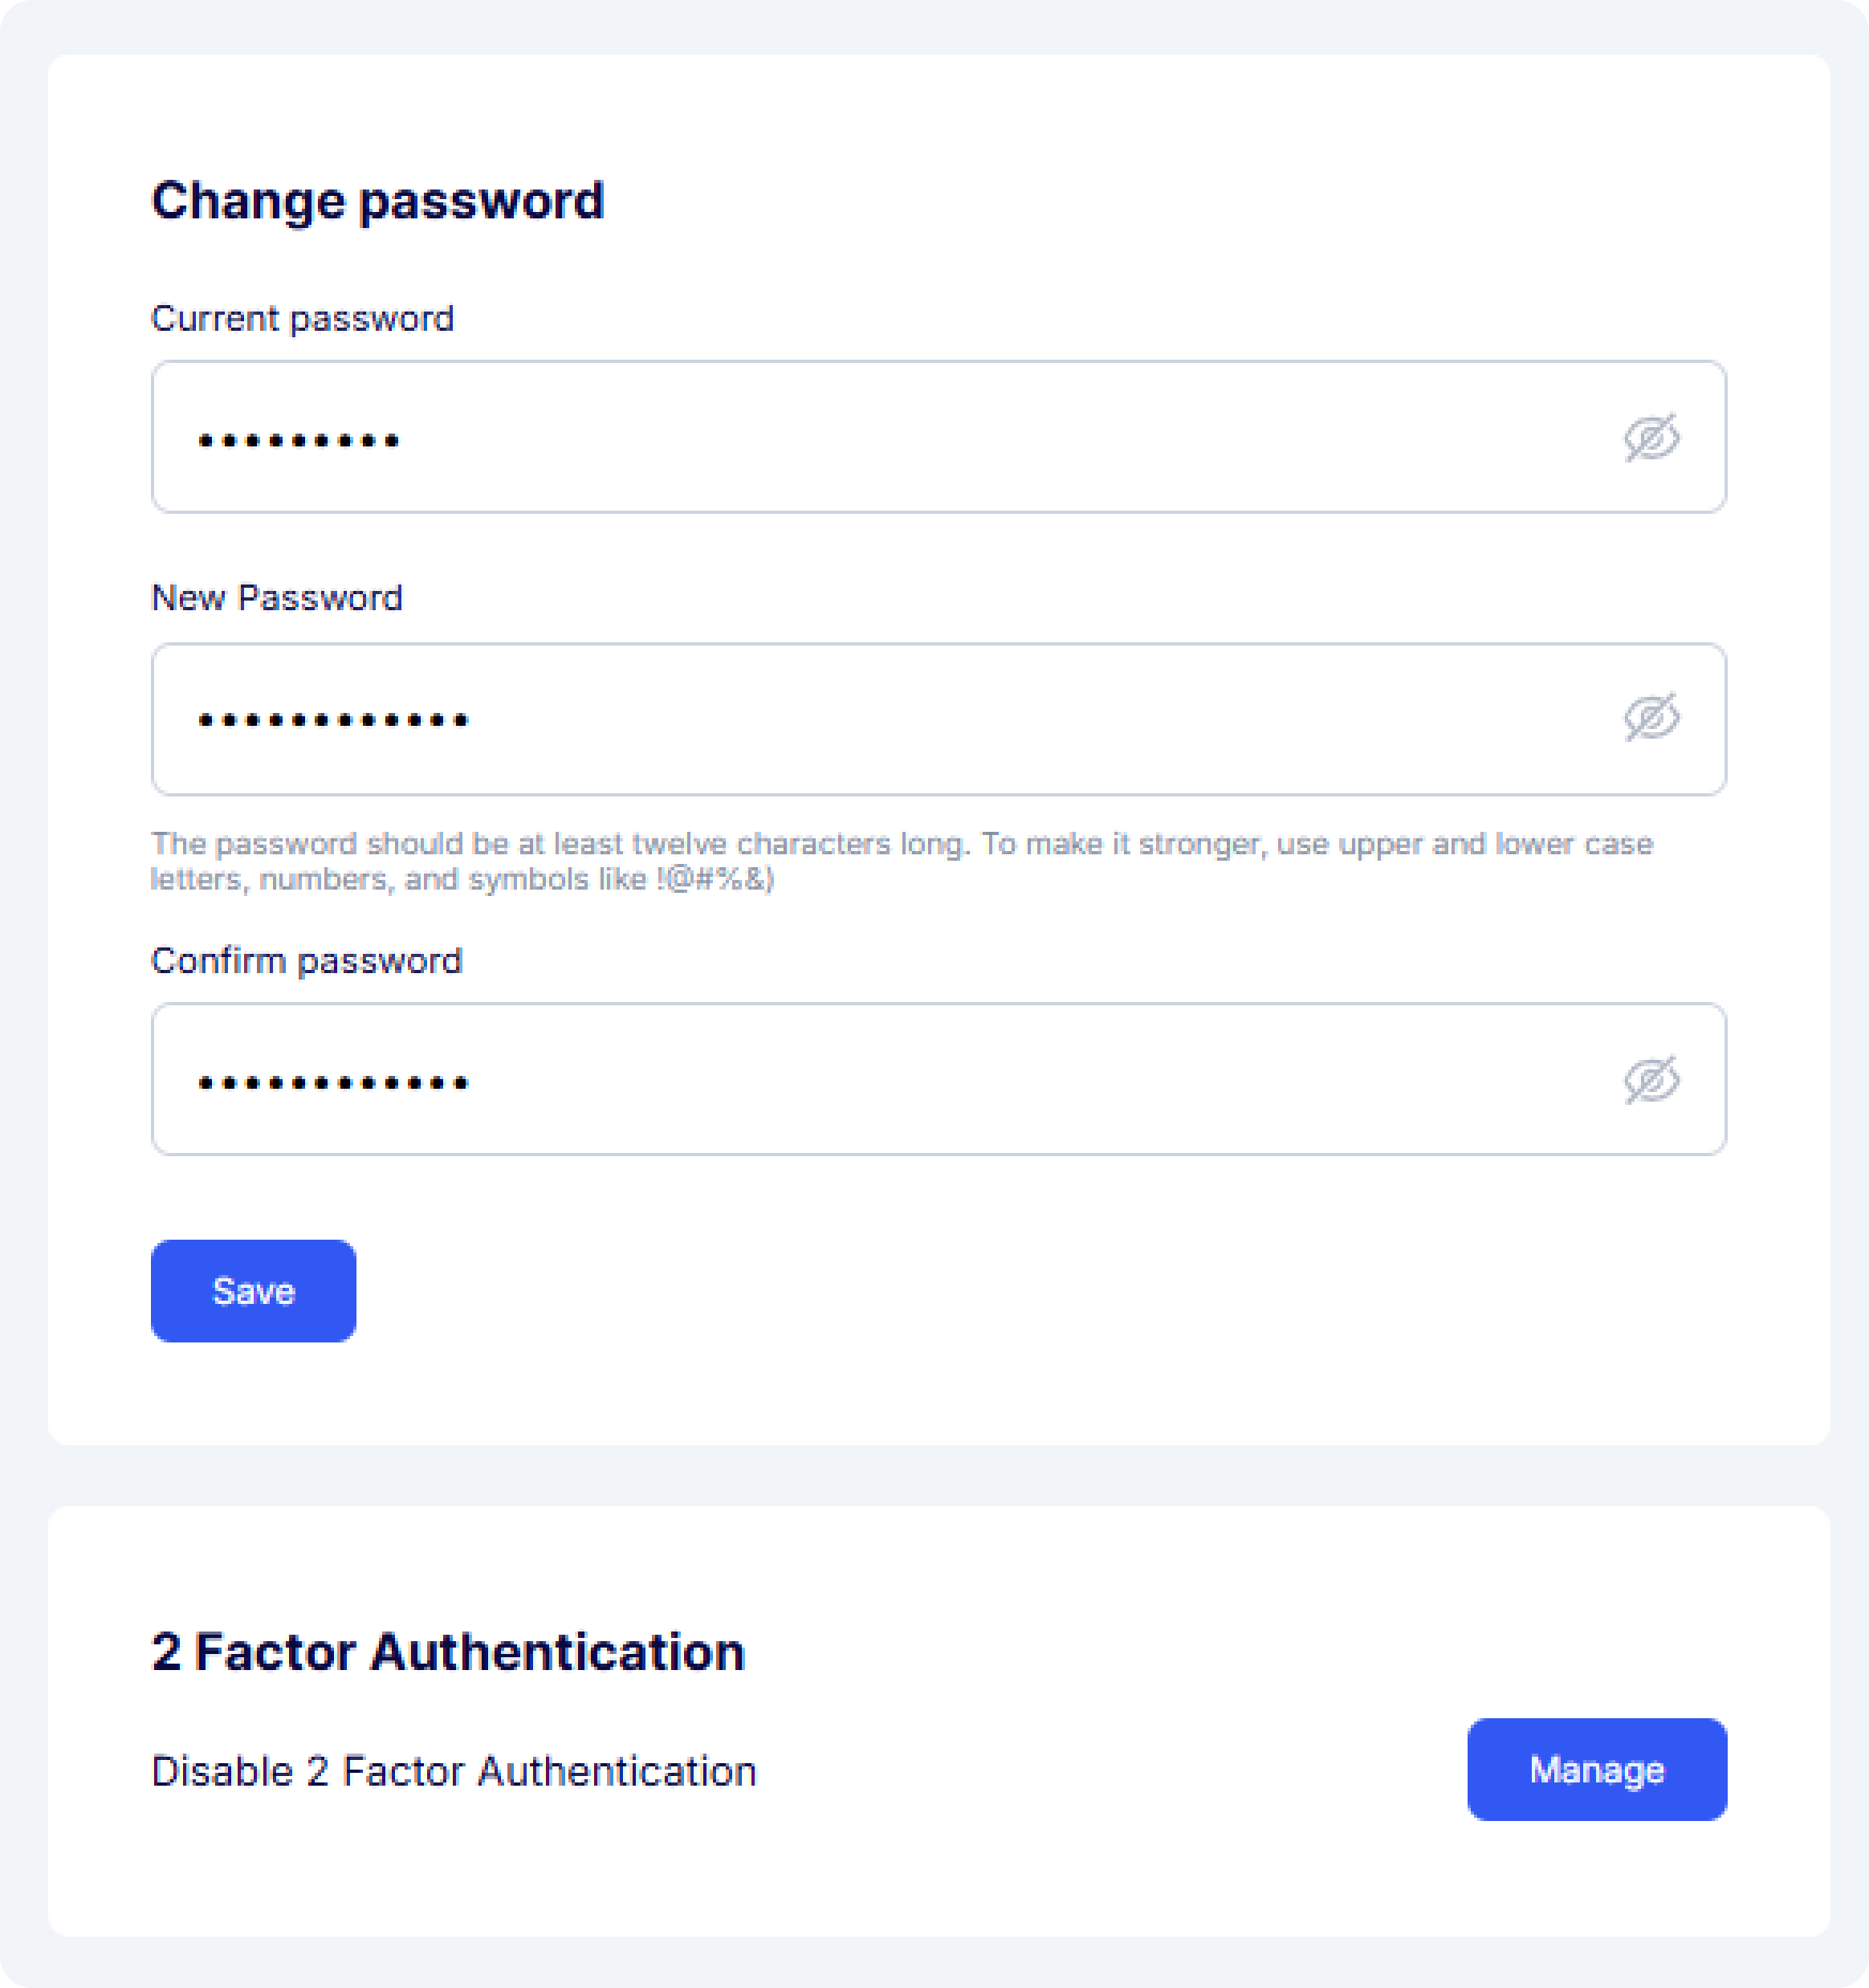
### **Change password:**
To update your password, simply enter your current password, followed by your desired new password, and confirm the new password to complete the process.
For enhanced security, please ensure that your new password meets the following requirements:
* A minimum of 12 characters in length.
* A combination of uppercase and lowercase letters.
* Include one or more numerical digits.
* Use of special characters such as! , @ ,# , & , $ ,%
***
### 2 Factor Authentication:
For enhanced account security, you can enable, disable, or update your Two-Factor Authentication (2FA) settings from here:
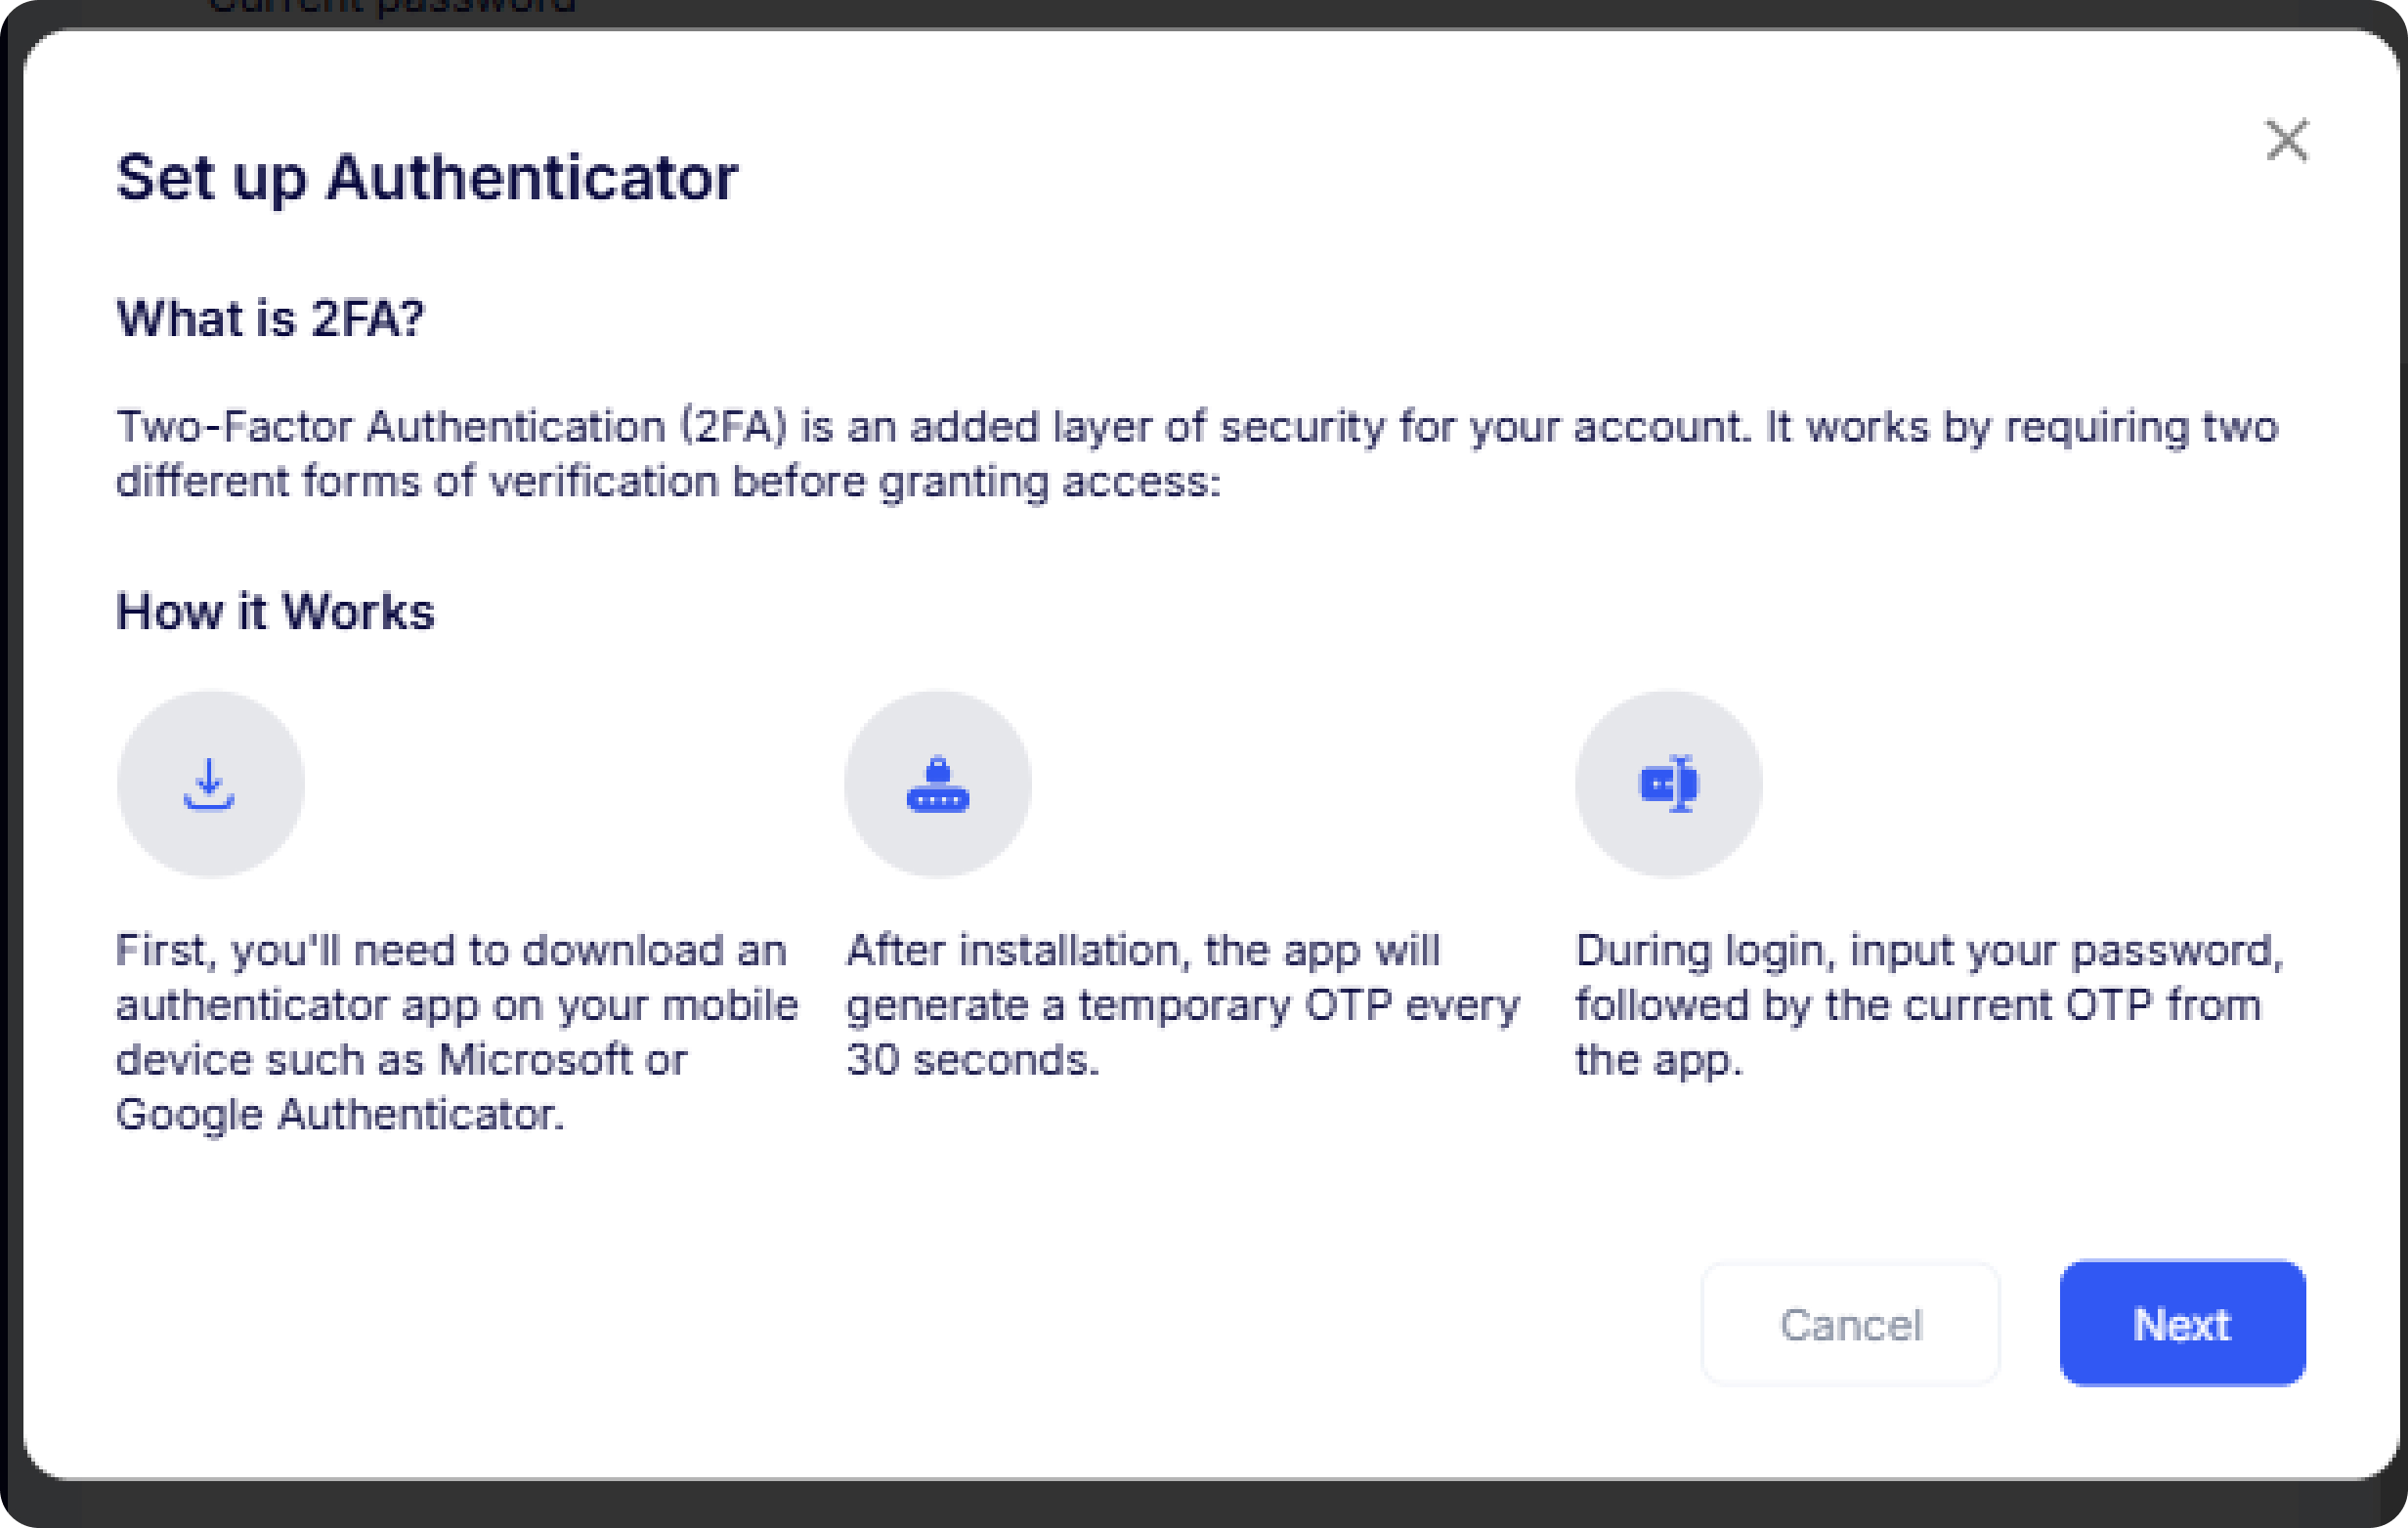
* **Setting Up 2FA:** If you did not set up Two-Factor Authentication (2FA) during the onboarding process, you can easily do so later by clicking on the **Enable** button in the 2FA settings section. Follow the step-by-step instructions provided to complete the setup.
* Scan the QR code displayed on the screen using a compatible authenticator app (e.g., Google Authenticator or Microsoft Authenticator).
* Enter the verification code generated by the app into the designated field.
* Confirm the setup to enable 2FA for your account
Set up 2FA
* **Recovery codes:** Once 2FA is set up, you will receive recovery codes. These codes are crucial if you lose access to your authenticator app. Please store them securely in a safe location.
* **Managing 2FA:** Once 2FA is enabled, the **Enable** button will change to a **Manage** button.
* If you wish to disable 2FA, simply click on the **Manage** button. A confirmation pop-up will appear, allowing you to turn off 2FA. However, we highly recommend keeping 2FA enabled to ensure optimal security for your account.
---
# Agent Instructions
This documentation is published with GitBook. GitBook is the documentation platform designed so that both humans and AI agents can read, navigate, and reason over technical content effectively. Learn more at gitbook.com.
## Querying This Documentation
If you need additional information that is not directly available in this page, you can query the documentation by asking a question.
Perform an HTTP GET request on the following URL with the `ask` and `goal` query parameters:
```
GET https://verify-doc.tiller-verify.com/training-hub/user-guides/my-profile.md?ask=&goal=
```
`ask` is the immediate question: it should be specific, self-contained, and written in natural language.
`goal` is what the user is ultimately trying to achieve, the reason they need the answer. Sharing it helps GitBook give you a better, more relevant answer. A goal is most helpful when it describes the outcome the user wants rather than restating the question. For example, with `ask=how do I create an API token`, a goal like `automate deployments from our CI pipeline` lets GitBook tailor the answer to that use case.
The response will contain a direct answer to the question and relevant excerpts and sources from the documentation.
Use this mechanism when the answer is not explicitly present in the current page, you need clarification or additional context, or you want to retrieve related documentation sections.
 At the bottom of the left-hand side menu on the Verify Portal, you will see your initials displayed above the Logout button. Clicking on your initials will take you directly to the My Profile area.
The **My Profile** area is designed to give users control over their personal information, password management, and Two-Factor Authentication (2FA) settings. This area is divided into three sections:
1. **My Info**
2. **Change password**
3. #### 2 Factor Authentication
At the bottom of the left-hand side menu on the Verify Portal, you will see your initials displayed above the Logout button. Clicking on your initials will take you directly to the My Profile area.
The **My Profile** area is designed to give users control over their personal information, password management, and Two-Factor Authentication (2FA) settings. This area is divided into three sections:
1. **My Info**
2. **Change password**
3. #### 2 Factor Authentication